Author: Joan
High-build primer is designed to fill sanding scratches and minor surface irregularities, but applying too much material in one pass can trap solvent and air beneath a rapidly closing surface. During flash or bake, the trapped vapor expands and escapes through the film, leaving pinholes, solvent pops, or small craters. The repair is expensive because the defect may not become fully visible until guide coat, sanding, or topcoat application.
1. Confirm the Substrate Is Ready
Before adjusting the gun, inspect the substrate for body-filler porosity, exposed fiberglass, trapped sanding dust, silicone contamination, and moisture. Blow off seams with clean, dry air, vacuum the panel, and wipe it using the coating manufacturer’s approved cleaner. Allow the cleaner to evaporate completely. Primer cannot bridge active contamination or deep filler pores reliably, regardless of spray technique.
2. Select the Correct Nozzle and Mix
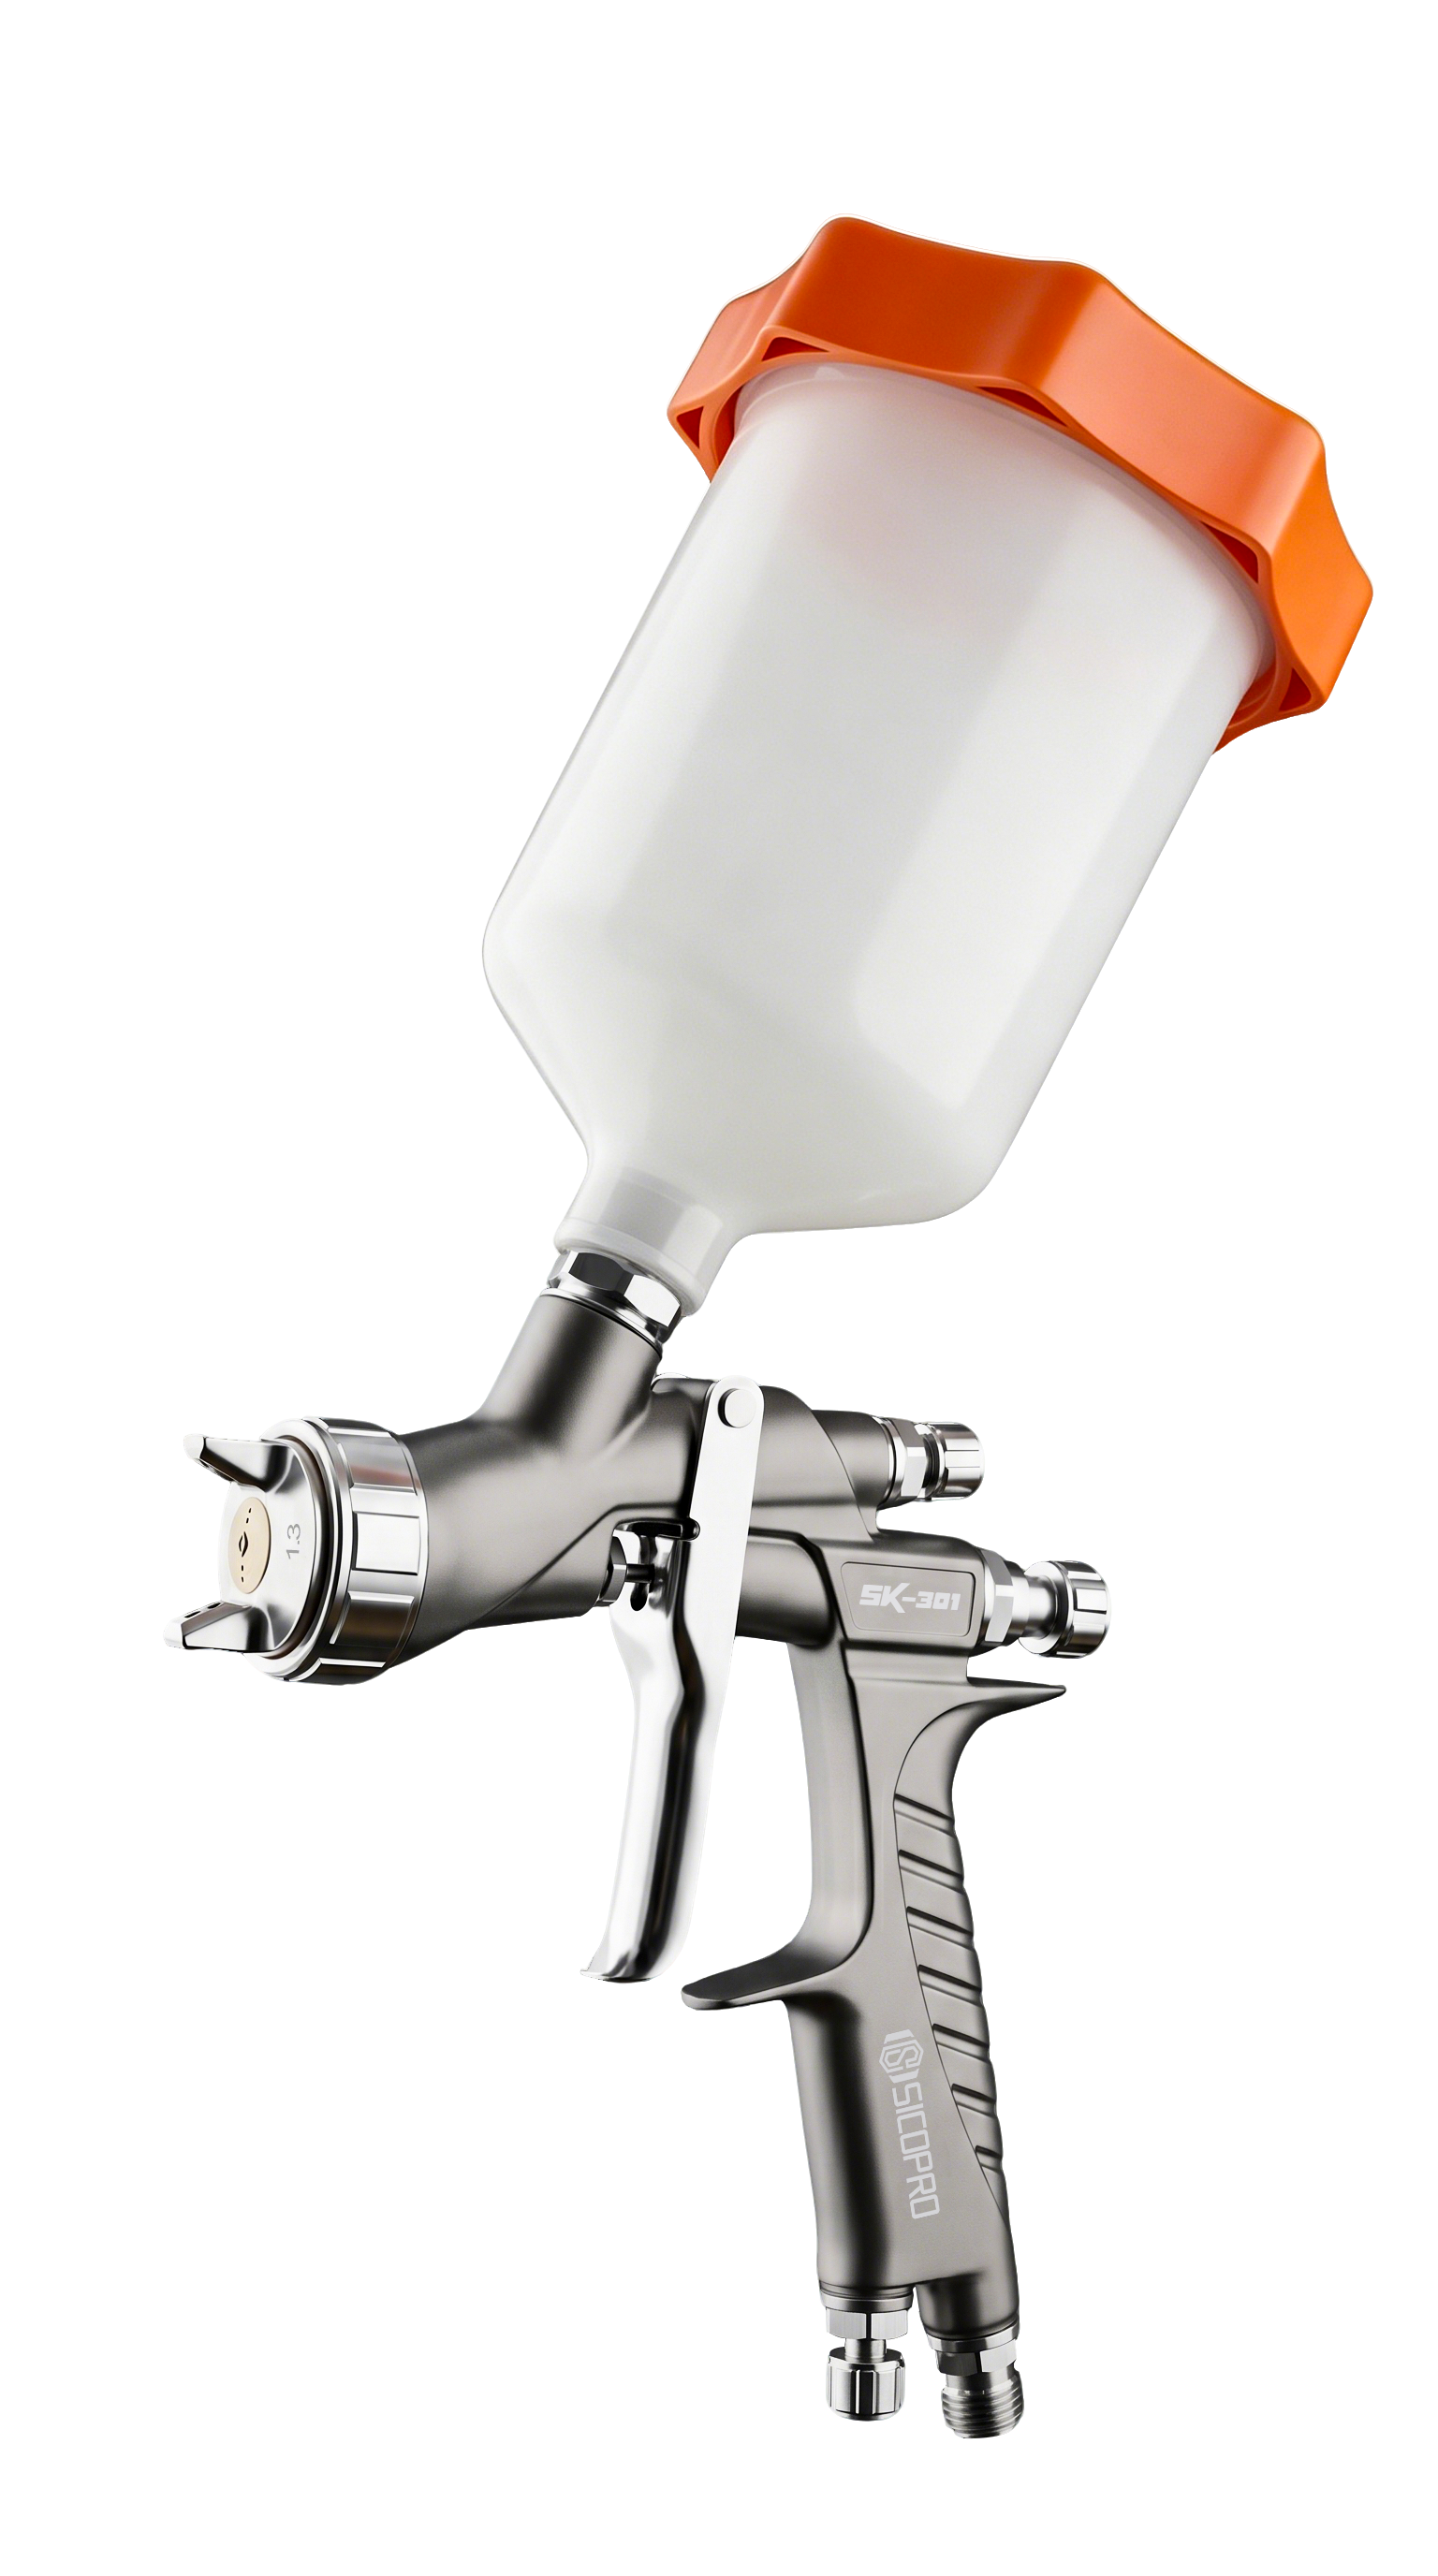
Follow the primer technical data sheet for nozzle size, reduction ratio, induction time, pot life, and hardener selection. A nozzle that is too large can deliver excessive material before the operator recognizes the film build. A nozzle that is too small may require high pressure or slow travel, increasing dry edge and texture. When setting up lvlp spray gun Professional Automotive Tools, establish the specified dynamic pressure with the trigger fully pulled and verify the fan on a test panel.
3. Reduce Fluid Output Methodically
Open the fluid control to the manufacturer’s baseline, then reduce output in small increments while keeping atomization stable. Do not attempt to control excessive delivery only by moving faster because the film becomes uneven at overlaps and body lines. Measure a timed discharge into a graduated cup when the shop procedure allows. This creates a repeatable reference for different technicians and primer batches.
4. Apply a Controlled First Layer
Use the first pass as a medium closed coat rather than a heavy filling coat. Hold the gun perpendicular and maintain a consistent distance appropriate to the selected nozzle. Use approximately 70 percent overlap when supported by the product instructions. The goal is complete, even coverage without flooding sanding scratches, panel edges, or repair transitions. Avoid lingering over filler spots because those porous areas may release air into the wet primer.
5. Respect Flash Time
Allow each layer to flash according to panel temperature, airflow, and the technical data sheet. The surface should reach the specified condition before the next coat. Do not use excessive booth airflow or direct compressed air to force the surface dry; this can skin the primer while solvent remains underneath. An air spray gun should remain at the validated setting between coats so the operator does not introduce a new variable while judging flash behavior.
6. Build Thickness in Separate Coats
Apply two or three controlled coats rather than one overloaded application. Offset the starting point of each coat to distribute overlap zones. Use a wet-film gauge on a prepared test coupon and calculate the expected dry-film thickness from the product solids. Stop when the specified total build is reached. More primer is not automatically better and may increase shrinkage, solvent retention, and edge mapping.
7. Inspect Before Sanding
After full cure, examine the primer under angled light and apply guide coat. If isolated pinholes appear, open them carefully, clean the area, and use the approved spot-repair method rather than burying them under another heavy coat. Record nozzle size, pressure, fluid setting, coat count, flash time, panel temperature, and final film build.
Once primer application is stable, the next efficiency improvement is a disciplined multi-color flushing and changeover process that prevents residual pigment from contaminating the next color.
SEO Keywords
high-build primer pinholes, automotive primer application, reduced fluid output, layered primer coating, solvent pop prevention, primer flash time, wet-film thickness control, primer nozzle selection, dynamic spray pressure, body filler porosity, substrate contamination removal, sanding dust cleaning, primer induction time, primer pot life, medium wet coat, primer overlap control, automotive repair primer, film build measurement, wet-film gauge use, dry-film thickness, primer shrinkage prevention, edge mapping reduction, trapped solvent diagnosis, trapped air prevention, guide coat inspection, primer sanding preparation, repair panel priming, spray gun output calibration, graduated discharge test, test coupon application, collision repair painter, automotive refinish technician, body shop primer specialist, vehicle restoration workshop, custom paint facility, fleet repair center, paint process supervisor, automotive coating supplier, spray equipment distributor, refinishing training center