Internal contamination inside an automotive pneumatic spray gun is a major cause of unstable spray patterns and premature seal wear. This guide explains the real mechanical reasons behind internal cleaning difficulty and provides 9 practical workshop-tested solutions.
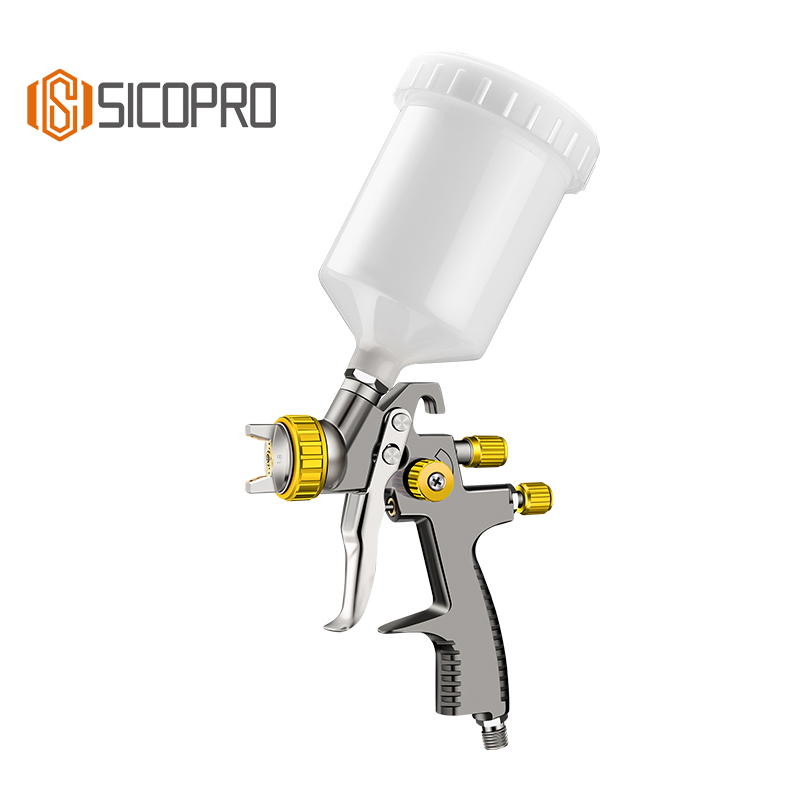
Why Automotive Pneumatic Spray Guns Are Difficult to Clean Internally After Use: 9 Professional Solutions That Actually Work
Internal contamination inside an automotive pneumatic spray gun is one of the main causes of unstable spray patterns, cross-color contamination, needle sticking, and premature seal wear. In professional refinishing environments, improper cleaning procedures lead to hardened coatings inside fluid passages and air distribution chambers.
1. Paint Flashing Too Quickly
Immediately empty the cup, flush with correct solvent, and spray through the air spray gun for 20–30 seconds before disassembly.
2. Incorrect Cleaning Solvent
Follow TDS recommendations and match solvent to coating chemistry.
3. Incomplete Disassembly
Remove air cap, fluid tip, and needle. Clean each component separately.
4. Hardened Coating Around Packing
Loosen packing nut slightly, clean carefully, then re-adjust tension.
5. Metallic Pigment Sediment
Agitate paint frequently and perform intermediate rinsing. Even refinished painting lvlp spray gun fine atomization systems require aggressive cleaning with metallics.
6. Insufficient Air Blow-Dry
Blow filtered compressed air through passages and lubricate moving parts.
7. Poor Cleaning Tools
Use manufacturer-approved nylon brush kits only.
8. O-Ring Swelling
Verify solvent compatibility and replace damaged seals.
9. No Preventive Maintenance Schedule
Implement weekly full disassembly, seal inspection, and lubrication routine.
Professional workshops treat every automotive spray gun as precision equipment requiring disciplined maintenance procedures.
READ MORE